- Display 15 Products per page

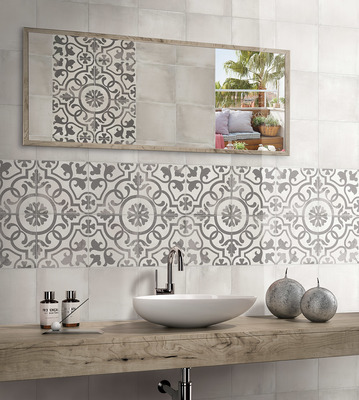
Patterned tile can deliver just style and character you need for any room. With hundreds of tile patterns available, you have thousands of design options to choose from to highlight your décor. Styles range from deco-style and modern to the rustic look of natural stone floors.
Whether it’s for a wall or floor in a bathroom or kitchen, or even stylish kitchen backsplash, Tile for Less has tile patterns that will fit your décor for a price that works!
If you have a question about a specific type or color of patterned tile, or need professional design help from our experts, call or visit Tile For Less Utah at either our Salt Lake City store or Layton store.
Q: Are honeycomb pattern tiles old school?
It depends on what size the tile is.
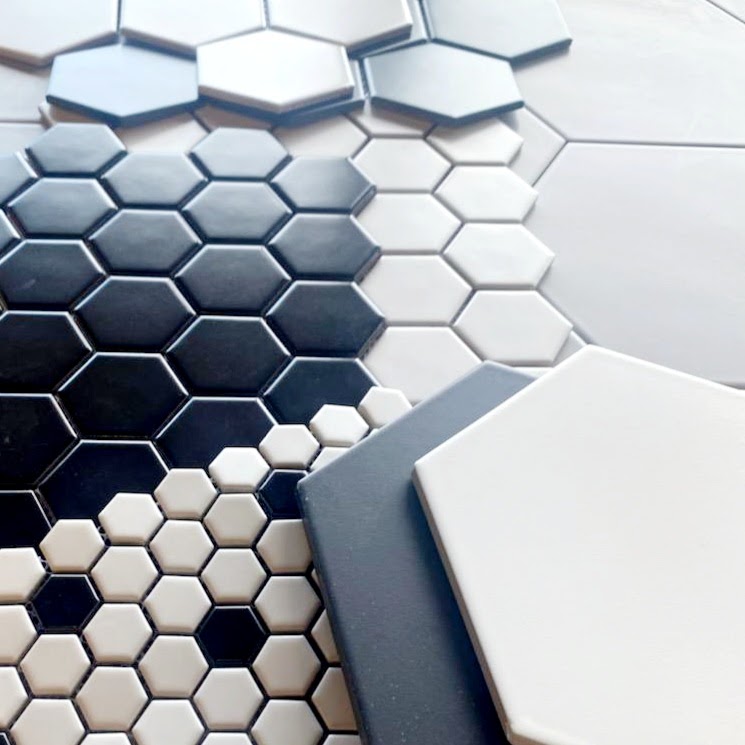
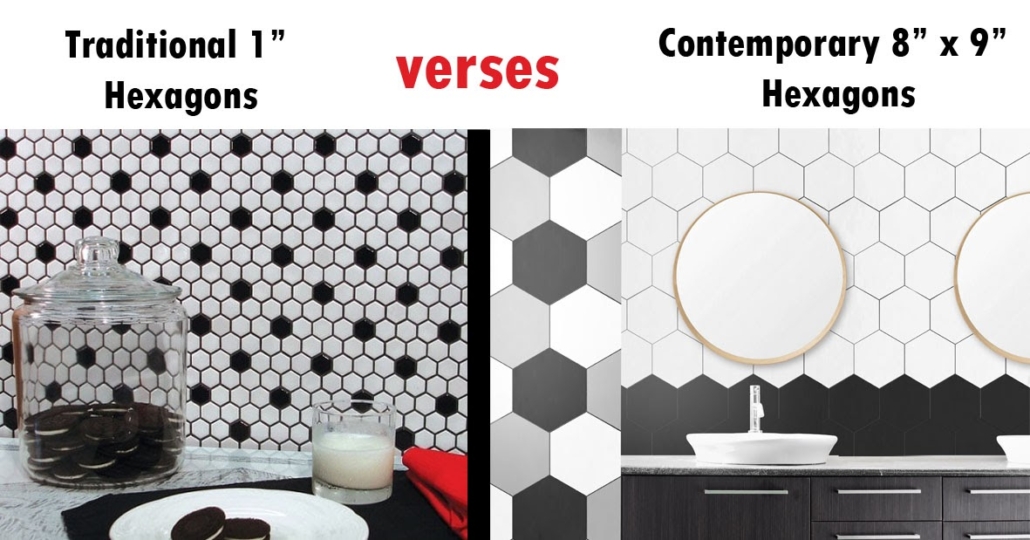
One-inch hexagons were commonly used in the Victorian era and can still be seen in buildings dating from that age. These days there are hexagons that are much larger, such as an 8” x 9”.
These are not considered old school, especially when the tile is colorful instead of black and white. In fact, they’re in high demand!
One way to achieve an updated spin on the Victorian hexagon look is to use these bigger tiles in black, white, or a combination of both. This is done when a homeowner has an older home and they want to keep the general feel, tone or style of the era in which the home was built.
It’s a great way to pay tribute to the past while still taking the design of the home into the future. Tile For Less offers honeycomb porcelain tiles in: 1”, 2”, 4”, and 8”x9” sizes! Even larger ones are available for special order.
Q: How to lay a herringbone pattern tile?
This installation requires a lot of material, cuts, time and skill. Contractors charge a lot of money to install a herringbone so you’ll be saving precious dollars by doing it yourself.
You’ll also end up with a stunning floor that will be a talking piece for everyone who sees it, and who wouldn’t love that? Yes, you CAN do it yourself. Let’s get started!
The first step is to do a lot of planning. Take a look at the room as a whole. Where will the large pieces of furniture be placed? What areas of the floor will be exposed and show the pattern the most?
Pick a spot where you want the pattern to show really well and use that as your starting point.
Next, gather your materials. You’ll not only need the tile, you’ll need a speed square as well as a marker or a chalk string to mark your lines (a chalk line reel).
Rooms aren’t always built with true 90 degree angles so think it through and make any adjustments you need in order to have the pattern look correct to the eye once it hits the walls. Don’t underestimate the planning stage!
When buying any tile it’s good to add at least 10% for cuts and waste. A herringbone pattern has a lot more cuts and waste than a typical square or running bond so you’ll need to increase your waste factor to 15% – 20%.
Be sure to have the rest of your tools ready such as your wet saw, speed square, spacers, mortar, trowel and buckets of clean up water with fresh sponges. Our tile professionals at Tile For Less will make sure you have the right size of trowel and the proper type of mortar depending on the size and style of the tile you have picked out.
Begin to dry lay out your pattern with the spacers to make sure it’s flowing the way you want it to. If it starts to look crooked, check to make sure you’re still at a 45 degree angle with each and every piece.
Chalk lines on the subfloor as necessary so you can use these as guidelines as you tile. Once you have a good idea of how the pattern is flowing and how it looks when it touches the walls and you’re happy with it, you can begin to set the tile in the mud bed.
This is where the chalk lines you snapped earlier will help you to recreate the exact layout of the pattern.
Take it slow and steady. Mix up the mortar in smaller batches so you can take the time you need to set every piece correctly as well as make any cuts you may need.
Most of these cuts will be on a 45 degree angle so really use that speed square and get your money’s worth out of it. Take periodic breaks to stand up and look at the installation as a whole and make sure it’s still looking correct.
Take a break or call it a day and begin again after a good night’s sleep if frustration sets in.
The last step is to grout the installation. You’ve just spent a lot of time and money to put this pattern in so make sure you pick a grout with enough contrast to show it off.
If the grout blends into the tile you’ll lose all the beautiful pattern work you just did and you will be sad.
We love setting tiles in a herringbone pattern for our showroom displays, so come in and take a look at them. They might answer some logistical questions you have and they’ll definitely inspire you.
Talk to a Tile For Less team member if you have any questions or concerns. We’re here for you!
Q: What pattern should I lay 12” x 24” tiles?
You have several pattern tile trends to choose from: stacked, on the half (subway set), on the third (running ⅓ bond), herringbone style, even a basket weave. Tile For Less showrooms feature a subway tile display board that highlights many of these patterns. Which one do you like best?
Stacked settings provide a modern, industrial look. Subway settings give a look that’s almost geometric. Running bond sets give a more flowing, slightly organic look to the floor.
The most common setting is a running bond but stacked and subway sets happen as well. The herringbone takes on a bold look in a 12×24 pattern which is great for a larger space like a kitchen floor or a larger bathroom floor. Pick the set that gives you the look and feel you want for your space and go for it!
If you need help making a decision, the Tile For Less team members are happy to listen to your ideas, look at any pictures and share an opinion on what we think will make your space look its best.
Q: What is subway tile pattern?
A rectangle shape tile that’s set on the half is a subway pattern. This means that when you’re setting your second row, you position the grout joint on the halfway point of the tile below it.
Take a look at the photograph, it’s something that’s often easier understood by a visual rather than verbal explanation.
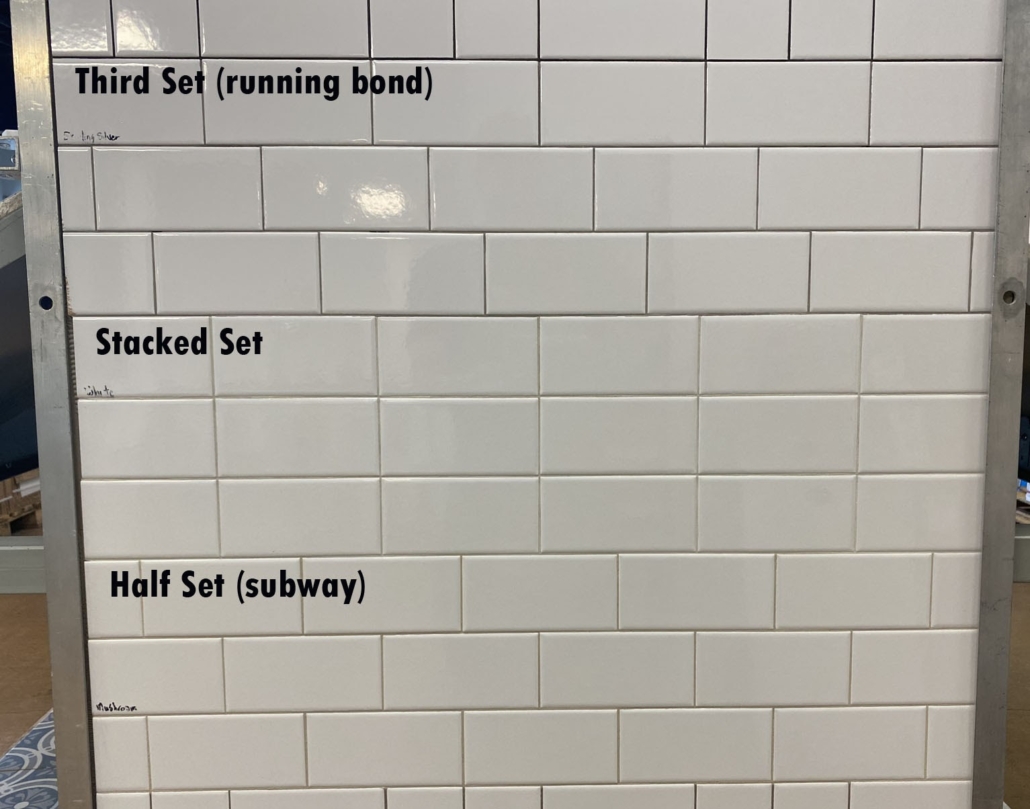
A subway pattern isn’t limited to a 3” x 6” wall tile; you can do this with any sized tile. It provides a more geometric look than by setting the grout joint on the third (a running bond pattern). You can do this with 12” x 24” tiles and make a statement piece with your floor.
Using tile as a form of practical art is the kind of stuff that makes a room look like it was designed by a professional.
Take a look at some of the example photographs and see for yourself!
Q: What tile patterns are the most modern?
Pinterest is a great way to see what the latest patterns are. You’ll start to recognize some of the most popular as you see them over and over on design boards. Tile For Less carries many of these in stock and we can special order even more patterns if you’re looking to see it in a certain color.
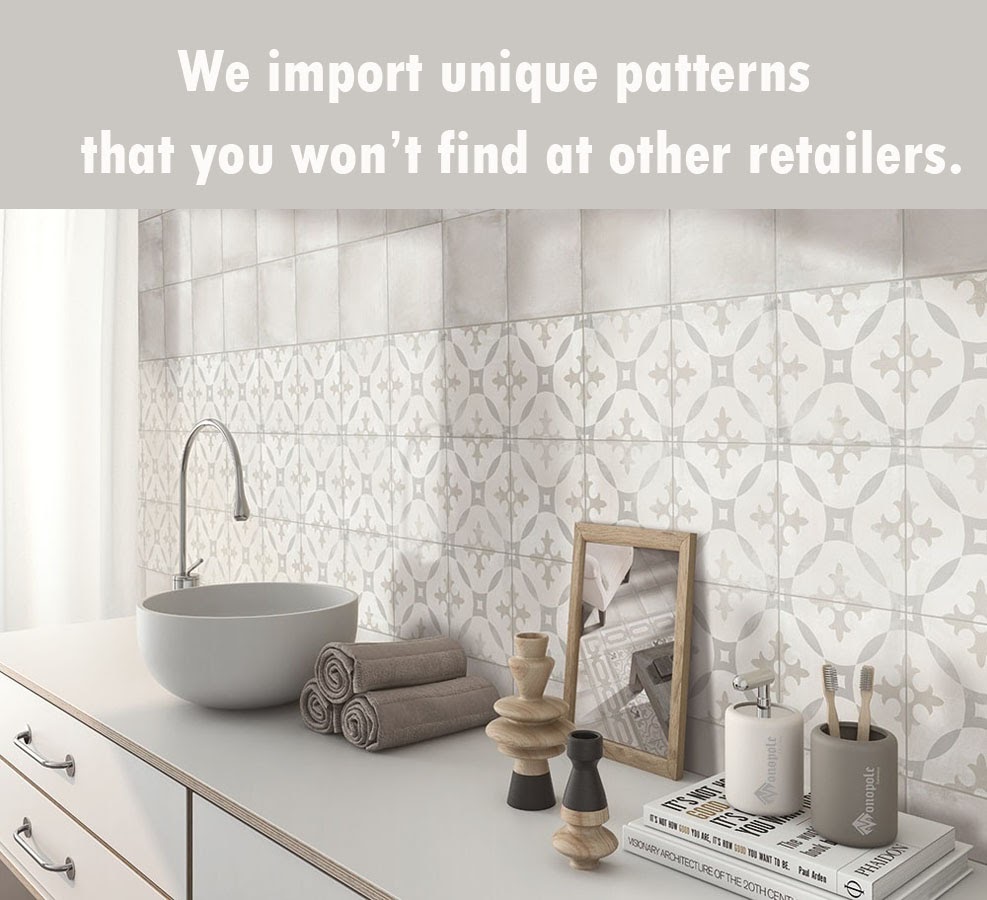
We also carry patterns that you won’t find anywhere else because we import them ourselves from other countries. The owners are very good about traveling to tile shows, speaking to the product reps and curating unique and beautiful patterns that you’ll fall in love with.
Sometimes the right solution for your room is to have the tile that’s seen everywhere and sometimes the right solution is to have a pattern that’s very unique.
The great news is that we’ve got you covered no matter which way you decide to go. Take a look at our Pattern Tile to see what we have, or come in and see them in person. We’re proud of our patterns!